HOW IT WORKS
Easy setup in 2 minutes
STEP 1.
Spread the Hut, ropes and sand anchors flat on the sand in a ‘X’ shape STEP 2.
Fill the sand anchors as much as possible and pull the rope to close
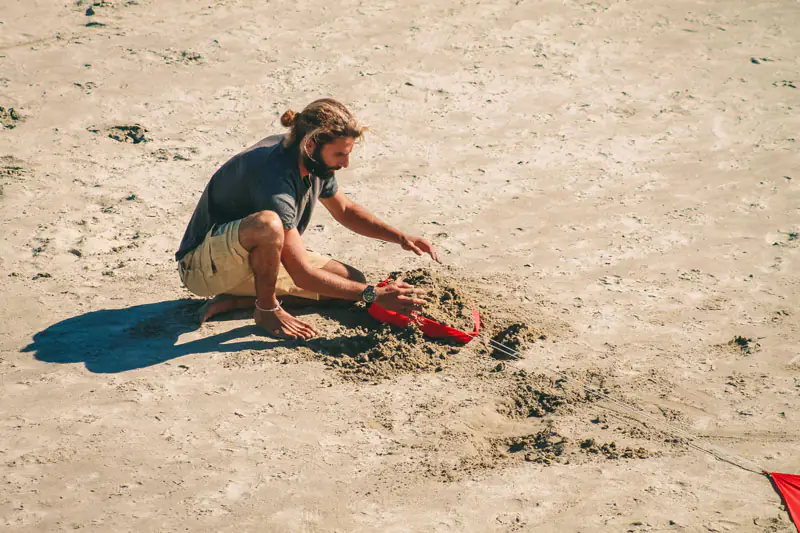 STEP 3.
Fully stretch the X shape by moving the anchors

STEP 4.
Assemble the poles and locate them about half a foot from the corners. It is essential that you face the opening towards the wind

Enjoy!
Tips and Tricks:
- Check the wind direction and make sure the opening is facing towards the wind so that air can flow through the hut
- The sand anchors are made from super stretchy lycra, so fill them up as much as possible! The more sand in the bags the more stable the huts will be.
- Before you pop up the Hut make sure the fabric is stretched in the X shape. You may have to relocate the sand anchors until you get a perfectly stretched X shape. The fabric is meant to stretch, you want it tight, but not crazy tight!
- In Very Windy conditions, you may want to bury the sand anchors to ensure complete stability. Simply dig a hole and place anchors inside.
- To assemble the poles just hold the top part (near the sponge ball) and let them assemble themselves.
- In windy conditions, you can slightly angle the poles to brace the wind.
- When packing up your Hut, fold the poles and put them in their case. You can then fold up your ChillHut like a sleeping bag rolling the poles inside.
- While using your ChillHut put everything that’s left out into your carry bag and tie your carry bag to one of the strings so you don’t lose it!

